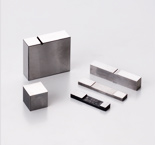
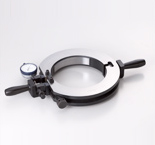
Snap gauge
If the object passes through the large hole and is stopped at the small, it is considered to be of acceptable size.
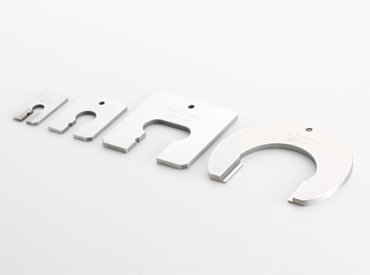
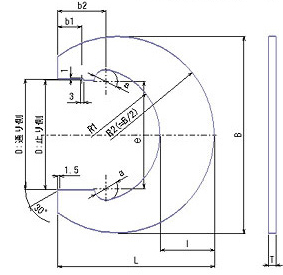
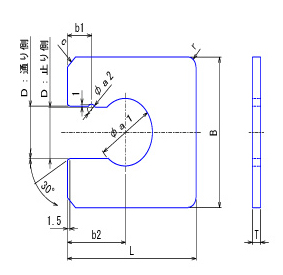
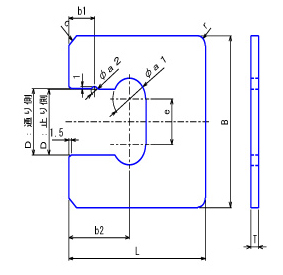
Single-plate snap gauge
(mm)
| Nominal dimension D | B | L | T | b1 | b2 | a1 | a2 | c | r | e | |
|---|---|---|---|---|---|---|---|---|---|---|---|
| 3 or more | 6 or less | 30 | 50 | 4 | 10 | 22 | 11 | 3 | 3 | 3 | – |
| More than 6 | 10 or less | 36 | 60 | 11 | 23 | 12 | 5 | ||||
| More than 10 | 14 or less | 50 | 12 | 28 | 18 | 4 | 4 | ||||
| More than 14 | 18 or less | 60 | 70 | 13 | 32 | 25 | |||||
| More than 18 | 24 or less | 65 | 14 | 34 | 28 | 5 | |||||
| More than 24 | 30 or less | 75 | 80 | 5 | 15 | 36 | 34 | 5 | |||
| More than 30 | 40 or less | 90 | 90 | 17 | 40 | 22 | 24 | ||||
| More than 40 | 50 or less | 110 | 100 | 19 | 43 | 28 | 30 | ||||
C-shaped snap gauge
(mm)
| Nominal dimension | D | B | L | T | I | R1 | b1 | b2 | a | e |
|---|---|---|---|---|---|---|---|---|---|---|
| 50 or more | 65 or less | 120 | 100 | 6 | 36 | 36 | 18 | 35 | 15 | 55 |
| More than 65 | 80 or less | 142 | 114 | 41 | 45 | 19 | 38 | 18 | 69 | |
| More than 80 | 100 or less | 162 | 130 | 45 | 55 | 20 | 40 | 20 | 88 | |
| More than 100 | 120 or less | 192 | 150 | 8 | 51 | 65 | 22 | 44 | 22 | 106 |
| More than 120 | 140 or less | 218 | 164 | 54 | 75 | 23 | 46 | 126 | ||
| More than 140 | 160 or less | 236 | 180 | 58 | 85 | 24 | 48 | 25 | 143 | |
| More than 160 | 180 or less | 258 | 195 | 60 | 95 | 25 | 52 | 163 | ||
| More than 180 | 200 or less | 280 | 210 | 62 | 105 | 55 | 184 | |||
| More than 200 | 225 or less | 308 | 230 | 64 | 115 | 26 | 58 | 205 | ||
| More than 225 | 250 or less | 338 | 244 | 68 | 130 | 28 | 231 | |||
| More than 250 | 280 or less | 362 | 262 | 70 | 143 | 28 | 60 | 291 | ||
| More than 280 | 315 or less | 392 | 275 | 72 | 160 | 291 |
Details
| Use | If the object passes through the large hole and is stopped at the small, it is considered to be of acceptable size. |
|---|---|
| Type | Single-plate snap gauge Under 50 with a single plate. Double-plate snap gauge Under 50 with double plates (For objects that can’t be measure with single-plate gauges) C-shaped snap gauge Size over 50 Groove diameter snap gauge For measurement in small spaces |
| Materials, surface processing | Partially-glazed finishing ….. SK5 Super sub-zero HRC58~63 Fully-glazed finishing ….. SKS3 Super sub-zero HRC58~63 *We also produce carbide finished versions. |
| Points of caution when ordering | • Please be sure to specify limit dimensions (maximum, minimum) (h7, ±0.2, etc.) • We can handle special orders as well. Please specify via a diagram, etc. |
Cylindrical plug gauges
Evaluates the margin of error for a hole using the smallest and largest sizes
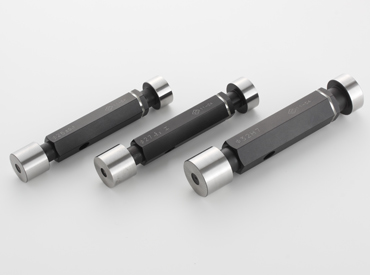
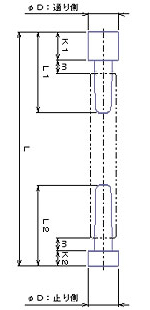
Cylindrical plug gauges
(mm)
| Nominal dimensionD | Pass side | Stop side | m | L | |||
|---|---|---|---|---|---|---|---|
| K1 | L1 | K2 | L2 | ||||
| 1or more | 3or less | 7 | 25 | 3.5 | 25 | 4 | 58.5 |
| More than 3 | 6or less | 10 | 32 | 5 | 32 | 6 | 77 |
| More than 6 | 10or less | 12 | 37 | 7 | 37 | 101 | |
| More than 10 | 14or less | 13 | 107 | ||||
| More than 14 | 18or less | 17 | 42 | 10 | 42 | 119 | |
| More than 18 | 24or less | ||||||
| More than 24 | 30or less | 22 | 52 | 13 | 52 | 8 | 141 |
| More than 30 | 40or less | 25 | 60 | 60 | 9.5 | 157 | |
| More than 40 | 50or less | ||||||
Details
| Use | Evaluates the margin of error for a hole using the smallest and largest sizes. |
|---|---|
| Type | A limit plug gauge is that which smoothly passes through the entrance and is stopped at the end. Master plug gauges are used as examples for the proper width. Limit plug gauge This will allow the smallest diameter of the hole to pass, while stopping the largest. We have both single and double-plane versions. Master plug gauge Acts to set the standard of hole size. |
| Materials, surface |
SKS3 Super sub-zero HRC58~63 *We also produce carbide finished versions. |
| Points of caution when ordering |
|
Ring gauges
To match the standards (0 set) of cylinder gauges and 3 piece micrometers
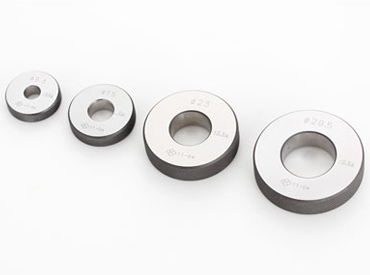
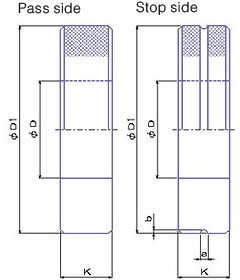
Ring gauges
(mm)
| Nominal dimensionD | External diameter |
Thickness | Display of stopping side | ||
|---|---|---|---|---|---|
| More than | or less | D1 | K | a | b |
| 1or more | 2.5 | 22 | 4 | 0.6 | 0.6 |
| 2.5 | 5 | 5 | |||
| 5 | 10 | 32 | 8 | 1 | 0.8 |
| 10 | 15 | 38 | 10 | 2 | 1 |
| 15 | 20 | 45 | 12 | ||
| 20 | 25 | 53 | 14 | ||
| 25 | 32 | 63 | 16 | ||
| 32 | 40 | 71 | 18 | 3 | 1.5 |
| 40 | 50 | 85 | 20 | ||
| 50 | 60 | 100 | 24 | ||
| 60 | 70 | 112 | |||
| 70 | 80 | 125 | |||
| 80 | 90 | 140 | |||
| 90 | 100 | 160 | |||
Tolerance of master ring creation
| Size | Common difference | Size | Common difference |
|---|---|---|---|
| ~32 | ±0.0015 | ~200 | ±0.004 |
| ~50 | ±0.002 | ~250 | ±0.006 |
| ~100 | ±0.0025 | ~300 | ±0.007 |
| ~150 | ±0.003 | ||
Details
| Use | To match the standards (0 set) of cylinder gauges and 3 piece micrometers |
|---|---|
| Type | Master ring For limit ring gauges |
| Materials, surface | SKS3 Super sub-zero HRC58~63 *We also produce carbide finished versions. |
| Points of caution when ordering |
|
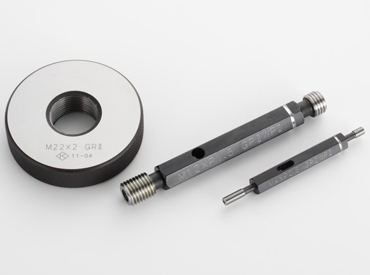
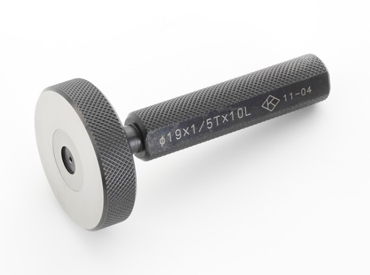
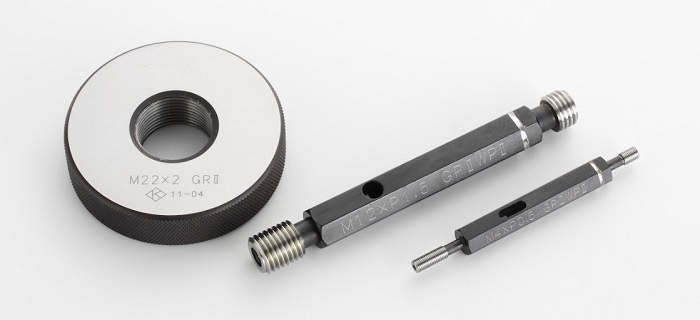
Parallel screw limit gauges
To manage the limits (maximum/minimum size) of product screws by stoppong or allowing them to pass
Details
| Use | To manage the limits (maximum/minimum size) of product screws by stopping or allowing them to pass. |
|---|---|
| Type | Thread plug gauge Used to evaluate tap holes, etc. Thread ring gauge To evaluate male threads. Standard thread gauge The thread plug gauge and thread ring gauge match up to become a set, made to the specifications of the standard diameter of the thread. However, it cannot be used to determine the matching up of two elements. |
| System | ISO Grading System…No differentiation between work and measurement. Evaluation is determined by whether or not the thread can be turned more than twice at the stopping side. JIS 1,2,3 Grading System…Evaluation is determined by whether or not the thread can be turned more than twice at the stopping side. |
| Materials, surface | SKS3 Super sub-zero HRC58~63 |
| Points of caution when ordering |
|
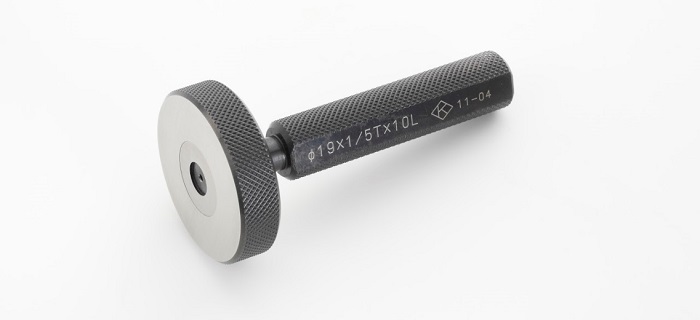
Taper gauges
Morse taper, National taper, Jacobs taper, etc
National taper gauge
(mm)
| Dimensions of taper part | A | taper | |||||
|---|---|---|---|---|---|---|---|
| D | d | L | a | C | α/2 | ||
| NT10 | 15.875 | 9.525 | 21.770 | 1.6 | 23.370 | 36 | 8°17′49.7″ |
| NT20 | 22.225 | 12.700 | 32.657 | 34.257 | 50 | ||
| NT25 | 25.400 | 13.818 | 39.711 | 41.311 | 55 | ||
| NT30 | 31.750 | 17.467 | 48.971 | 50.571 | 55 | ||
| NT35 | 38.100 | 21.431 | 57.150 | 58.750 | 65 | ||
| Nt40 | 44.450 | 25.400 | 65.316 | 66.916 | 72 | ||
| NT45 | 57.150 | 32.610 | 84.138 | 85.738 | 90 | ||
| NT50 | 69.850 | 39.676 | 103.454 | 3.2 | 106.654 | 105 | |
| NT55 | 88.900 | 50.469 | 131.763 | 134.963 | 130 | ||
| NT60 | 107.950 | 60.722 | 161.925 | 165.125 | 160 | ||
Morse taper gauge
(mm)
| Dimensions of taper part | taper | |||||
|---|---|---|---|---|---|---|
| D | d | L | a | C | α/2 | |
| NK-MYN00 | 9.045 | 6.401 | 55 | 3.2 | 50.8 | 1°29.4472′ |
| NK-MYN01 | 12.065 | 9.371 | 58.5 | 3.5 | 54 | 1°25.7231′ |
| NK-MYN02 | 17.78 | 14.533 | 70 | 4 | 65 | 1°25.8416′ |
| NK-MYN03 | 23.825 | 19.759 | 86.6 | 4.5 | 81 | 1°26.2624′ |
| NK-MYN04 | 31.267 | 25.907 | 109.8 | 5.3 | 103.2 | 1°29.2548′ |
| NK-MYN05 | 44.399 | 37.468 | 139.4 | 6.3 | 131.7 | 1°30.4366′ |
| NK-MYN06 | 63.348 | 53.749 | 193.5 | 7.9 | 184.1 | 1°29.5984′ |
| NK-MYN07 | 83.058 | 69.85 | 265.1 | 9.5 | 254 | 1°29.3442′ |
Details
| Type | Morse taper, National taper, Jacobs taper etc. |
|---|---|
| Points of caution when ordering |
|
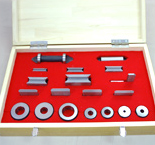
Jigs / Other
introduction of other products
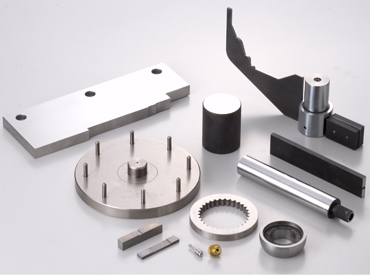
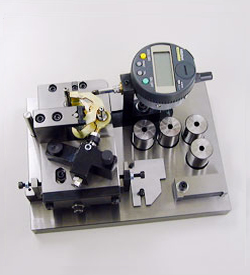
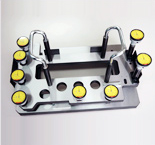
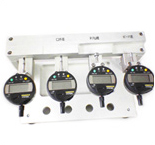
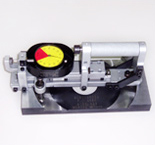
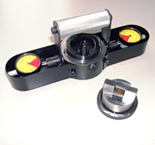
If we can receive specification diagrams, we are able to produce various jigs and other special gauges. Also if you have requests such as wanting to measure something for which you have no diagram, or wanting a gauge that is easier to use than your current one, we are capable of designing and producing new ones, so please confer with us.
